
Mark Up Your Screenshots with AldooSnap's Annotation Tools
AldooSnap lets you draw, highlight, label, measure, blur, and crop directly on a captured image before you save or share it. Most of these tools show up in two places: the selection bar while you're capturing an Area, and the preview window that opens after a Screen, Window, or Scroll Snap capture, or after tapping Annotate on a photo in the Photo Booth's film roll. Cropping is the one exception — it's only available in the preview window.
Drawing and Marking Tools
Five tools cover freehand marks and simple shapes, all drawn by clicking and dragging on the image.
- Select Pen to draw a thin freehand line.
- Select Highlighter to draw a wider, semi-transparent stroke for highlighting text or areas.
- Select Line to drag a straight line between two points. Shift-drag to draw the line in ortho mode switching between 45 degrees.
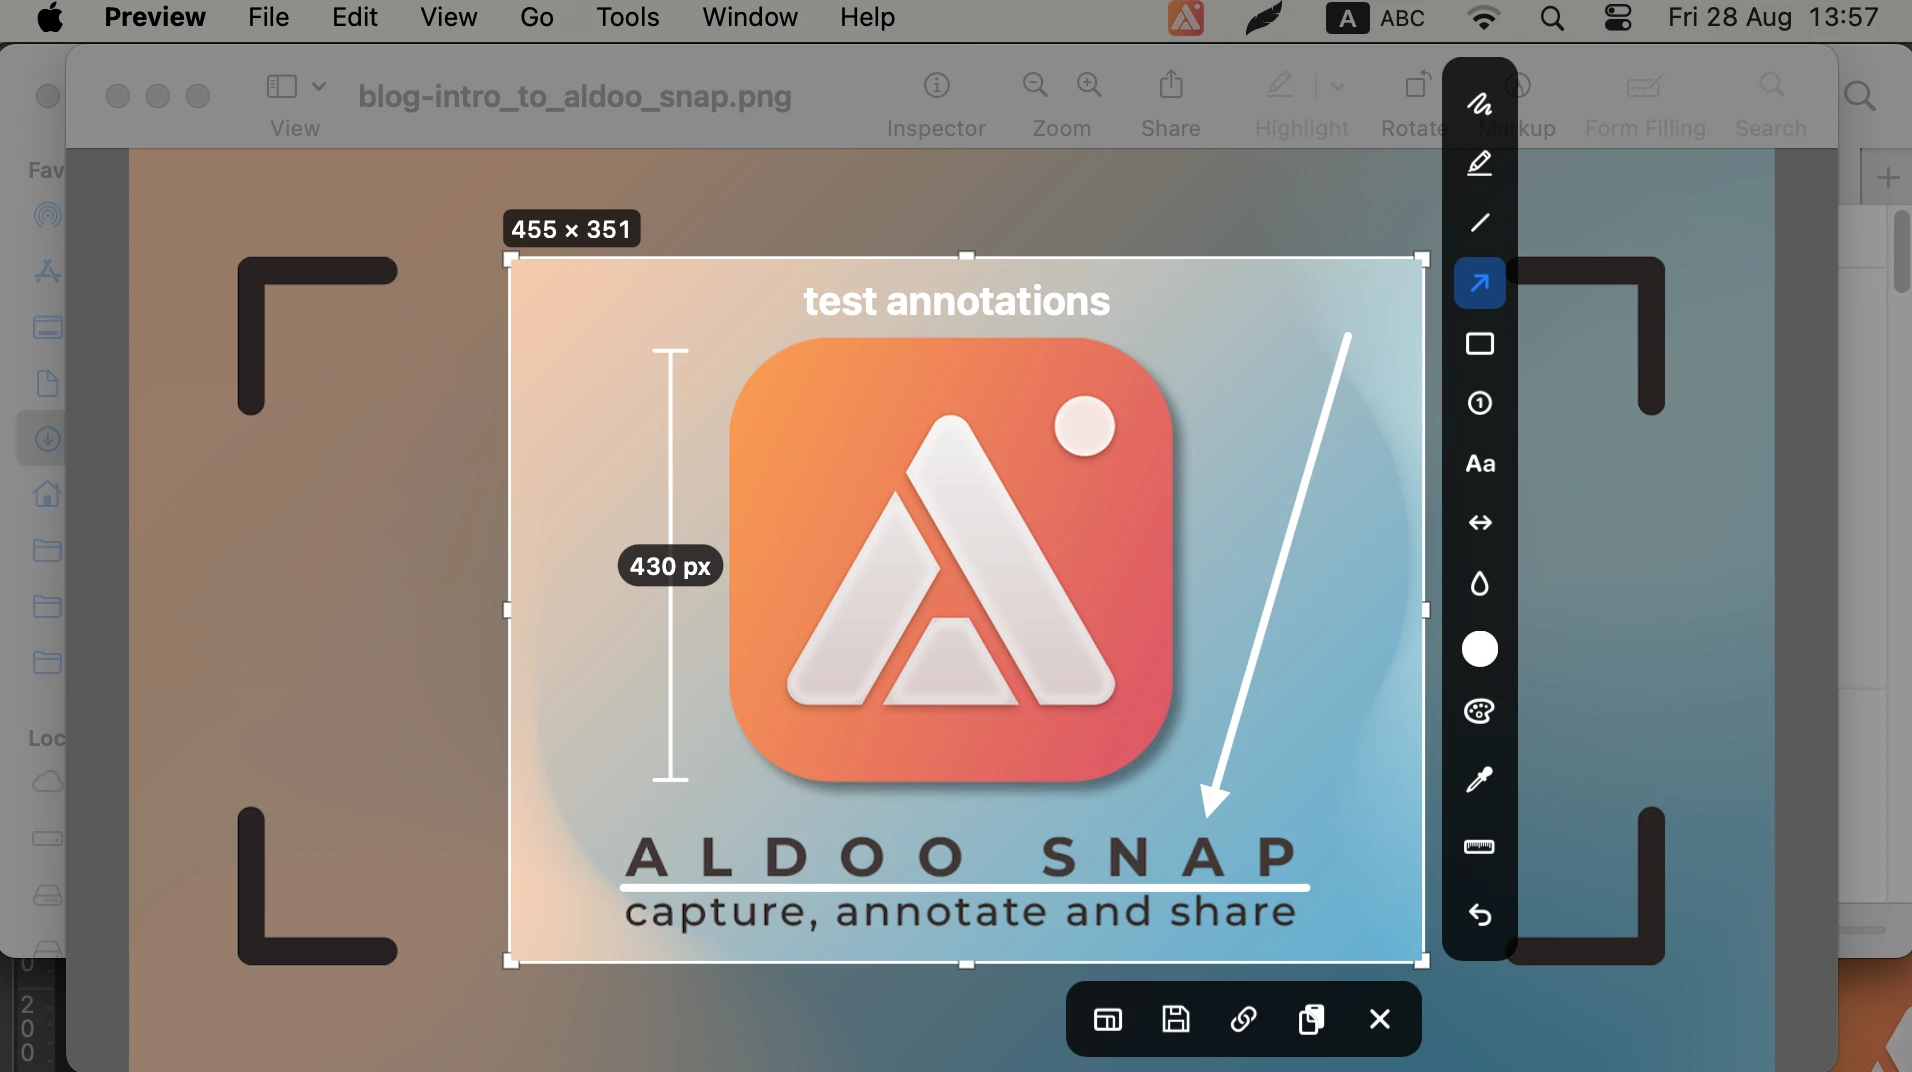
- Select Arrow to drag a straight arrow pointing at something in the image.
- Select Rectangle to drag an outlined box around a region.
Numbered Steps and Text
Use these to label a screenshot for a tutorial or walkthrough.
- Select Numbered step and click anywhere on the image to drop a numbered badge — each one you place counts up automatically (1, 2, 3…), and deleting one renumbers the rest.
- Select Text and click to drop a text box, which opens for editing immediately.
- Double-click an existing text box or numbered step to reposition or edit it, or drag it to move it.
- Shift-click a text box or numbered step to delete it.
Rulers and Guides
Use these as visual alignment references while you place other annotations — guides never get baked into the saved image.
- Click Rulers (or Show/hide rulers in the preview window) to reveal rulers along the top and left edges.
- Click the top ruler to drop a vertical guide, or the left ruler to drop a horizontal guide.
- Drag a guide to reposition it — dragging with Option held duplicates it instead of moving the original.
- When two guides on the same axis sit near each other, a chip shows the pixel distance between them.
- Click the ⊗ at a guide's end on the ruler to delete it.
Measuring Distances
Use this when you need to call out an exact pixel measurement, like a spacing or sizing detail.
- Select Measure distance in pixels and drag between two points to drop a ruler line with its length labeled in pixels. Shift-drag to draw the measure line in ortho mode switching between 45 degrees.
- Drag either endpoint afterward to adjust the measurement — the label updates as you drag.
Blurring Sensitive Content
Use this to redact things like emails, names, or account numbers before sharing a capture.
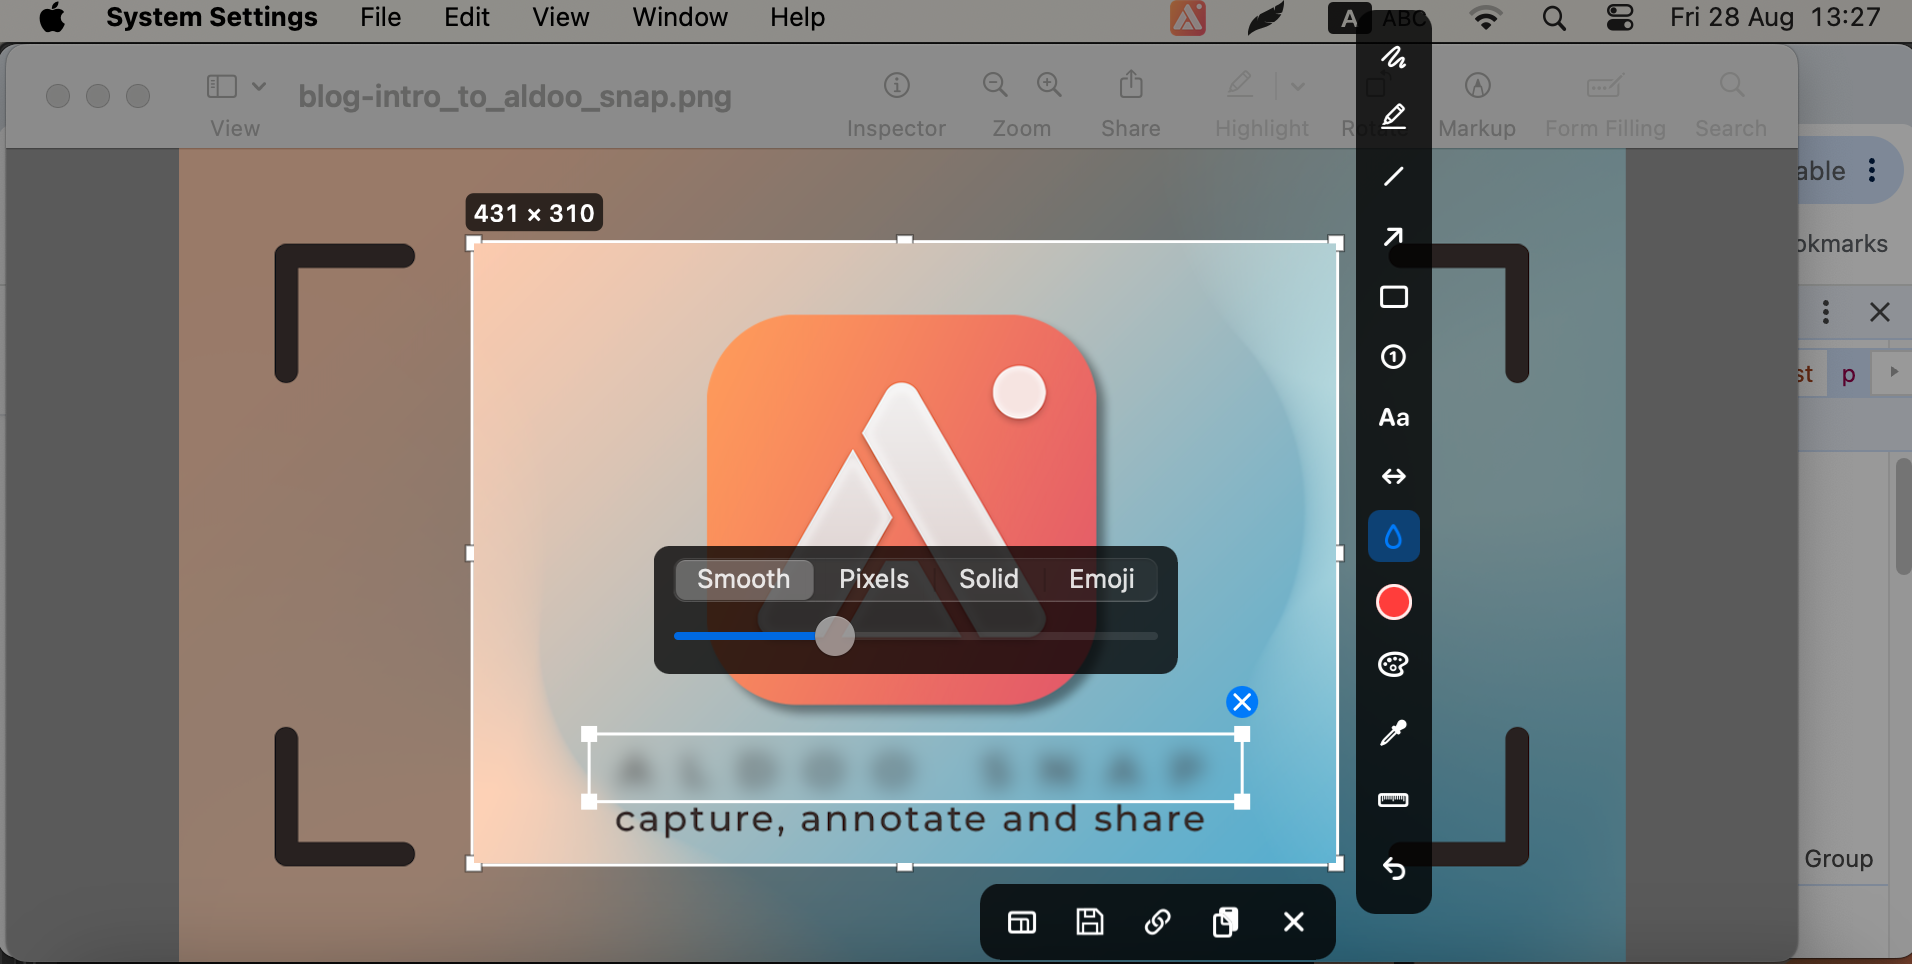
- Select Blur an area (smooth or pixelated) and drag out a rectangle over the content you want to hide.
- Use the floating panel that appears to pick a style — Smooth, Pixels, Solid, or Emoji — and adjust the strength slider.
- With Emoji selected, click Open Emoji Picker… to choose which emoji covers the area, and drag its rotation knob to angle it.
- Drag the rectangle's corner handles to resize it, or drag the rectangle itself to move it.
- Click the blue ⊗ badge above the rectangle to remove a blur you no longer want.
Picking Colors
Three separate tools handle color, each for a different job: setting what you draw with, discovering colors already in the image, and grabbing an exact pixel's value.
- Click the color swatch to set the active drawing color from a preset palette — this is the color every Pen, Highlighter, Line, Arrow, Rectangle, and Text annotation uses.
- Click Extract color palette to generate a set of dominant colors pulled from the image itself, useful for finding colors already used in a design or screenshot.
- Click the eyedropper, then click anywhere on the image to sample that exact pixel's color and copy its hex value to the clipboard — useful for matching a specific color rather than an approximate one.
Cropping an Image
Cropping is only available in the preview window — not in the inline Area-capture bar. That preview window opens automatically after a Screen or Window capture, after a Scroll Snap finishes stitching, or when you click Annotate on a photo in the Photo Booth's film roll.
- Select Crop and drag out the region you want to keep.
- Drag inside the pending crop rectangle to reposition it, or draw a new one to start over.
- Click Apply Crop, press Enter, or double-click inside the rectangle to apply it.
Undo and Zoom
The preview window's toolbar also carries two housekeeping controls.
- Click Undo last annotation to remove the most recent mark you made.
- Click Zoom in or Zoom out to get a closer look while annotating a large or detailed capture.
Finishing Up
Once you're done marking up a capture, finish it the same way as any other image: Copy share link (which will add the capture to Your Files gallery in your account on AldooSnap website), Copy to clipboard, or Save — or Close to dismiss without saving. Every saved file lands in the same place; click the AldooSnap icon in the menu bar and choose Recordings to open that folder directly in Finder.